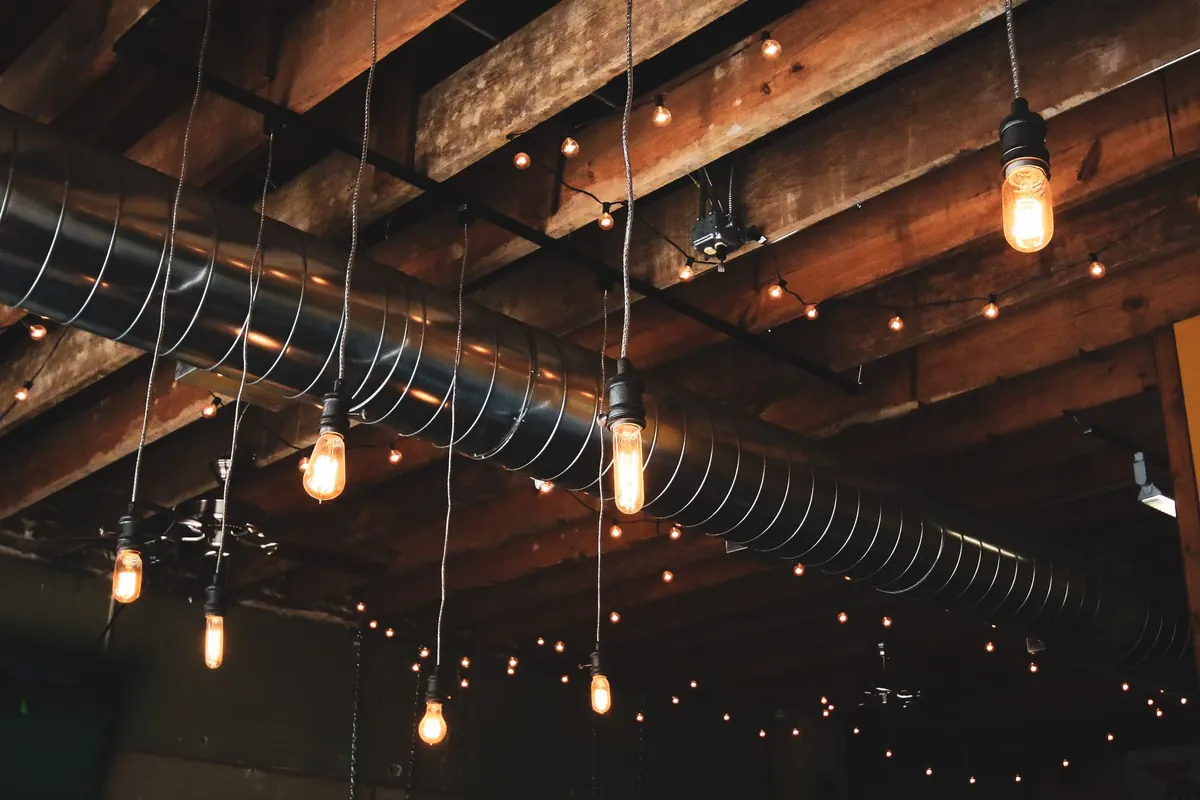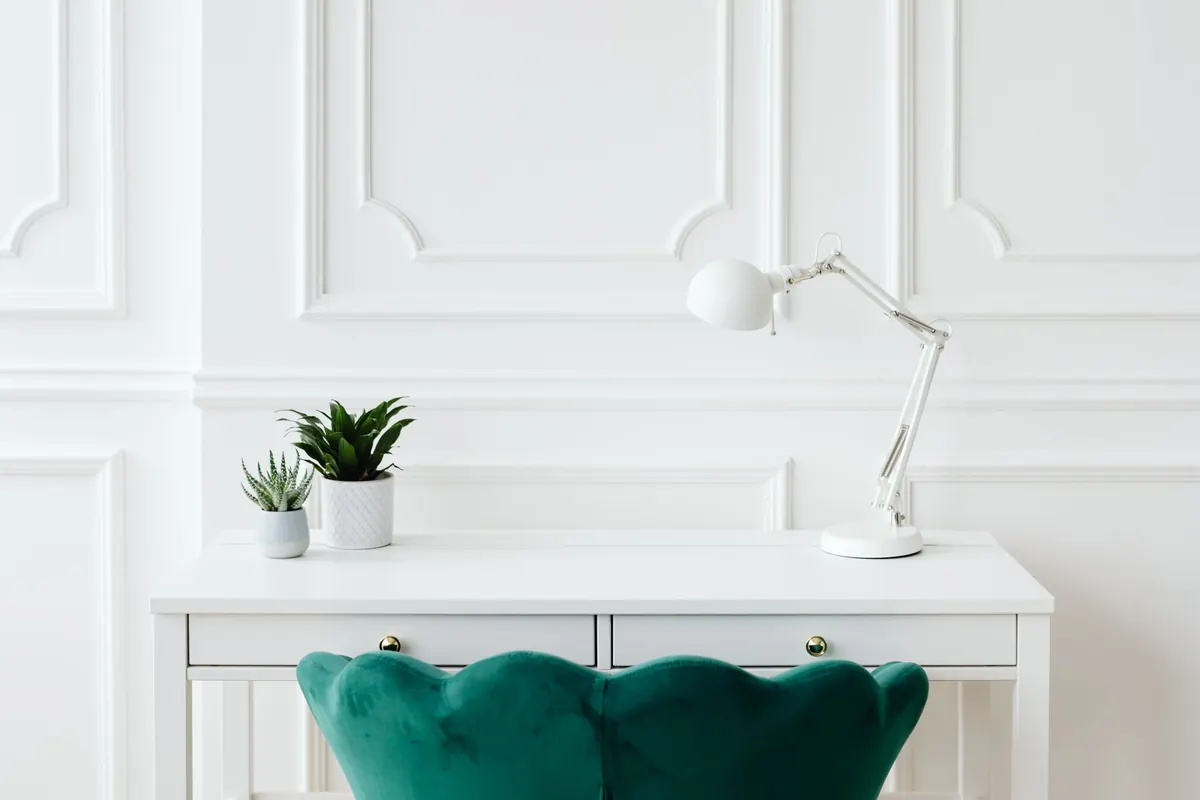
You can describe a warm 2700K glow in three paragraphs and still leave everyone guessing. One well-exposed photograph does the job in a second — it shows where the shadows fall, how wide the beam spreads, and whether the colour reads as cosy or slightly sickly. The problem is that cameras have opinions. Left to their own devices they decide what "white" means, how bright your room should look, and where to blow out the highlights. Usually they get it wrong. A few adjustments before you press the shutter will get you feedback that's genuinely useful.
Fix the white balance first
This is the single biggest mistake in lighting photos. Auto white balance assumes the brightest thing in the frame should be white, so it cancels out the very colour you're trying to show. A warm filament bulb gets rendered a flat cream. A cool 4000K downlight turns icy grey.
Switch to a preset instead. Tungsten or incandescent suits most warm domestic bulbs. Daylight holds cool light steady. If your phone or camera has a Kelvin setting, set it manually — around 2700K for warm lamps, 4000K for neutral, 6000K for daylight-matching strips. Then leave it alone for the whole shoot so your photos are comparable.
Mixed lighting is worth flagging rather than fighting. If half your shot is lit by a warm lamp and half by a cool window, no single setting will fix it. Say so in your post. Members will understand immediately what they're looking at.
Nail exposure without killing the glow
Glow lives in the highlights. Expose for the room and the bulb becomes a featureless white blob. Expose for the bulb and everything around it falls into black. The sweet spot is just before clipping: the brightest part of the glow should still show some shape and colour, not pure white.
On a phone, tap on the brightest glowing area, then drag the exposure slider down until the glow stops looking blown. Use exposure compensation on a camera. If you're unsure, bracket — shoot the same frame dark, mid and bright, then post two of them and explain which is closer to how it actually feels in the room.
Then do the boring bit: turn off the ceiling lights, the telly and any phone screens. Stray ambient light flattens glow faster than any setting can rescue it.
Show the light, not just the fitting
A photo of a pendant lamp tells us almost nothing. A photo of the pool of light it throws onto a wall or a table tells us everything.
Try three frames for any setup:
- The fixture, showing the shape and where it's mounted.
- The effect, framed on the surface being lit — a wall wash, a beam on a worktop, the shadow a shade casts.
- The control shot, same angle with the light switched off, so the contrast is obvious.
Wall textures, fabric and matte paint show light beautifully. Glossy surfaces mostly show reflections of your camera, so move to one side or angle the shot.
Set the scene: angle, background and scale
Composition is what turns a snapshot into something a member can diagnose. A short checklist:
- Shoot at eye level or slightly below for pendants and table lamps; straight on for wall lights.
- Include something for scale — a chair, a mug, a book. A lamp that looks small may be half a metre wide.
- Clear the cables and clutter from the frame. It's the fastest improvement most photos can make.
- Turn the flash off. Direct flash flattens glow and casts hard shadows that don't exist in the room.
- Brace the camera on a doorframe, a stack of books or a tripod, and use the self-timer. Long exposures and warm light go well together.
- Lock focus and exposure between shots so your set looks consistent rather than a series of guesses.
Evening or closed curtains will show warm light far better than a bright afternoon. If you need to show daytime performance, take a separate set and label it.
Phone camera settings that help
Use the manual or pro mode
Drop the ISO to its lowest setting and let the shutter stay open longer instead. Noise and colour shift at high ISO make warm light look muddy.
Check HDR before you rely on it
HDR can rescue detail in a dark room, but it also lifts shadows and makes glow look flat and digital. Try one shot with it on and one with it off, then decide.
Don't zoom digitally
Move closer, or switch to the phone's second lens if it has one. Digital zoom softens detail that matters when people are judging beam edges.
Clean the lens
A thumbprint over the lens produces a haze that looks exactly like cheap diffuser plastic. Wipe it on your shirt and take the shot again.
What to post alongside the photos
Photos work best with a short set of facts. Include the fitting and how it's mounted, the bulb type, its colour temperature in Kelvin and its brightness, whether there's a dimmer, and roughly how high the ceiling is. Add the camera settings if you used manual mode, and say plainly if the photo is brighter or warmer than the room really is. Then ask one specific question — "is the beam too narrow for this wall?" gets far better answers than "thoughts?".
Before you hit post
Edit lightly. Crop, straighten, and correct exposure if you must, but leave colour filters and heavy saturation alone; they change the thing people are assessing. Upload the full-size image rather than a screenshot, so anyone can zoom into the glow and the shadows. Posting two versions — one that matches how the room feels and one exposed brighter to reveal detail — is the most useful thing you can do. It tells the community what you're seeing, and it gives them enough to tell you what to change next.
Photo: Alexas_Fotos / Pixabay